Seal it Up, Keep it Fresh!

What we Seal
During this process, the sealer enters the pores of the paver stone and hardens. This effectively fills in the extra space within the stone preventing accidental stains and reducing the amount of vegetation growth, it also helps repel mold and algae from forming, and it stops water from eroding the stone and harmful UV rays from damaging the stone causing premature deterioration.
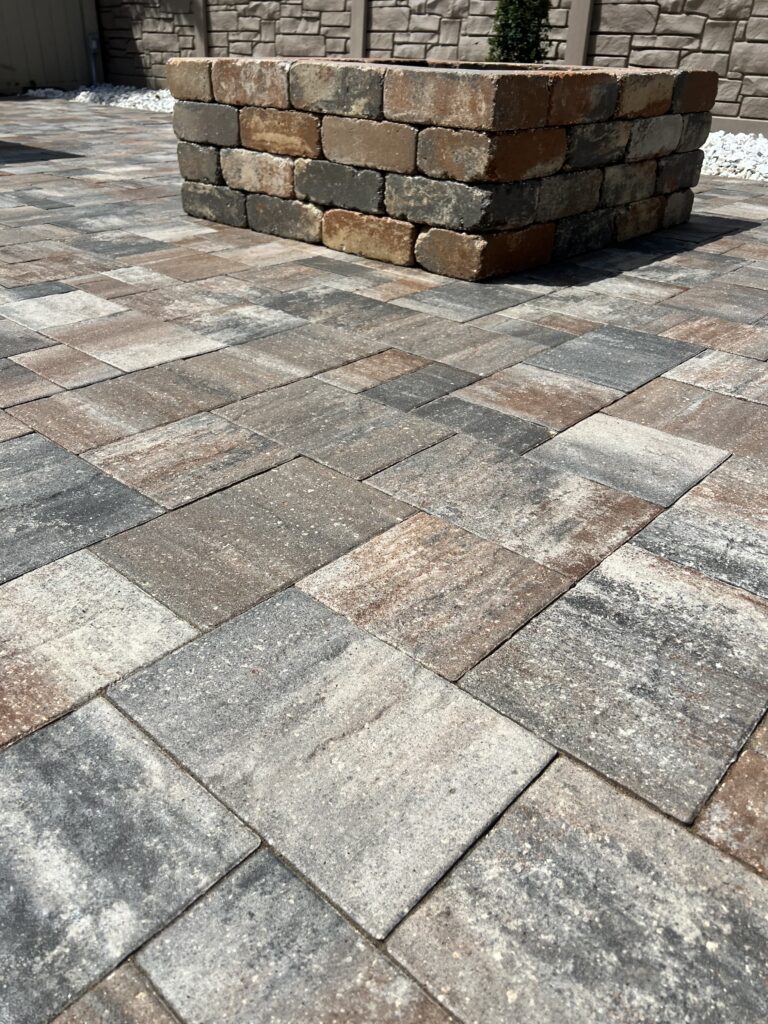
Paver Sealing will also enhance and deepen the color of the stone. Many sealers will in some way enhance the color of the stone. Some have a more natural look and some will leave the stone with a more wet look. Sealing can also mitigate the growth of weeds in the paver joints preventing premature loss of sand. Sealing hardens the jointing sand, locking it in place and preventing sand loss, and has many other benefits.
Our Sealing Process
- Our first step is assessing and identifying stains, rust, oil, grease, molds, mildew, and algae growth. We look for any spots that have low sand in the joint. We will watch for any stones that look like cracking, crumbling, or are generally broken or on the verge of breaking. If there is any vegetation growth, we will note that as well.
- Second, we will apply the right product and cleaning method for the stains we found and deep clean all the pavers removing stains, molds, mildews, and algae. We will use our industrial surface cleaner to scrub the pavers as deep as possible and in different directions to get the ultimate clean. We will use the Turbo Tip to remove any vegetation we may have seen growing in the joints. We will rinse these products and ensure they have all been neutralized and readied for the next steps. This is the first initial clean.
- Third, we will use a product that will remove any Efflorescence that we may or may not see; this is an essential step in properly preparing the pavers for an optimized bond. This is Step One in the 1-2-3 cleaning process.
- Fourth, we will clean the pavers again with another product to remove any organic stains or biological growth, ensuring any microorganisms are neutralized and not living, not the surface of the pavers.
- Fifth, we clean one more time with a harsh cleaner that will remove any remaining foreign bodies, not the pavers, and neutralize all other products used. It ensures maximum adhesion on the sealer.
- Sixth, we re-sand the entire area. We use jointing sand specifically made for paver jointing; it is properly cleaned, dried, and meets angular specifications. It prevents sand washout, insect infestation, and weed growth. Using this sand ensures optimal stability and long-term performance. We offer six different sand color options to provide the best outcome for your landscape. We do this using the wet sanding method, where the water’s weight helps pack the sand into the joints. We will pick up and remove any extra sand that did not fit into the joints. The final part of this step is to blow off any small particles of sand that are not locked into the joint.
- Seventh, we begin to seal! If sealing around a pool, we will do the pool’s edge by hand to minimize the amount of sealer that gets into the pool. We will section off the bottom of the driveway and the sidewalk for driveways to stop any unwanted traffic contaminating the sealer. During the sealing process, we take all proper precautions to minimize overspray. We will look for and fix any accidental overspray eminently.
Key Points (UPDATE!)
- Paver sealing can prolong the life of your outdoor spaces.
- Paver sealing can prevent accidental stains.
- This process hardens and fills all open spaces in the stone and slows down stone erosion.
- Paver Sealing can help repel mold, mildew, algae, and vegetation growth.

